Android Cannot Upload Photo With Ds Photo
Google Photos has truly been the gold standard for gallery apps, with its numerous smart features and capabilities. But when Google decided to finish offering free unlimited high-quality media uploads — a large draw for many Photos users — people started to wait for alternatives. I substitute that stands out is Synology Photos, which comes bundled with the company'due south NAS servers, offering about unlimited full-res uploads for your photos and videos.
The Synology app got a major facelift, complete with several AI-enabled capabilities akin to Google Photos, correct effectually the fourth dimension when Google decided to discontinue unlimited loftier-quality uploads in its app. With its new interface, Synology Photos became one of our favorite Google Photos alternatives. If y'all are looking to move your media from Google Photos to Synology Photos, here'due south a step-by-pace-guide to get yous started.
The skillful
| Cocky-hosted | Your personal photos alive on your ain NAS and non some remote and unknown server. |
| Gratis* | Synology Photos is free to use, but you must ain a Synology NAS sever. |
| Organisation tools | Photos are automatically tagged with faces and places. You tin also create albums manually. |
| Familiar interface | Synology Photos looks and feels like Google Photos, then it's easy to get used to. |
| Sharing | Information technology has some neat sharing features, including countersign-protected public links. |
The not-and then-good
| Entry price | A basic Synology DiskStation and its drives can run into hundreds of dollars. |
| No editing | There are absolutely no editing features in Synology Photos. |
| Not and so smart | The AI features still aren't as good every bit those offered by Google Photos. |
Before we begin
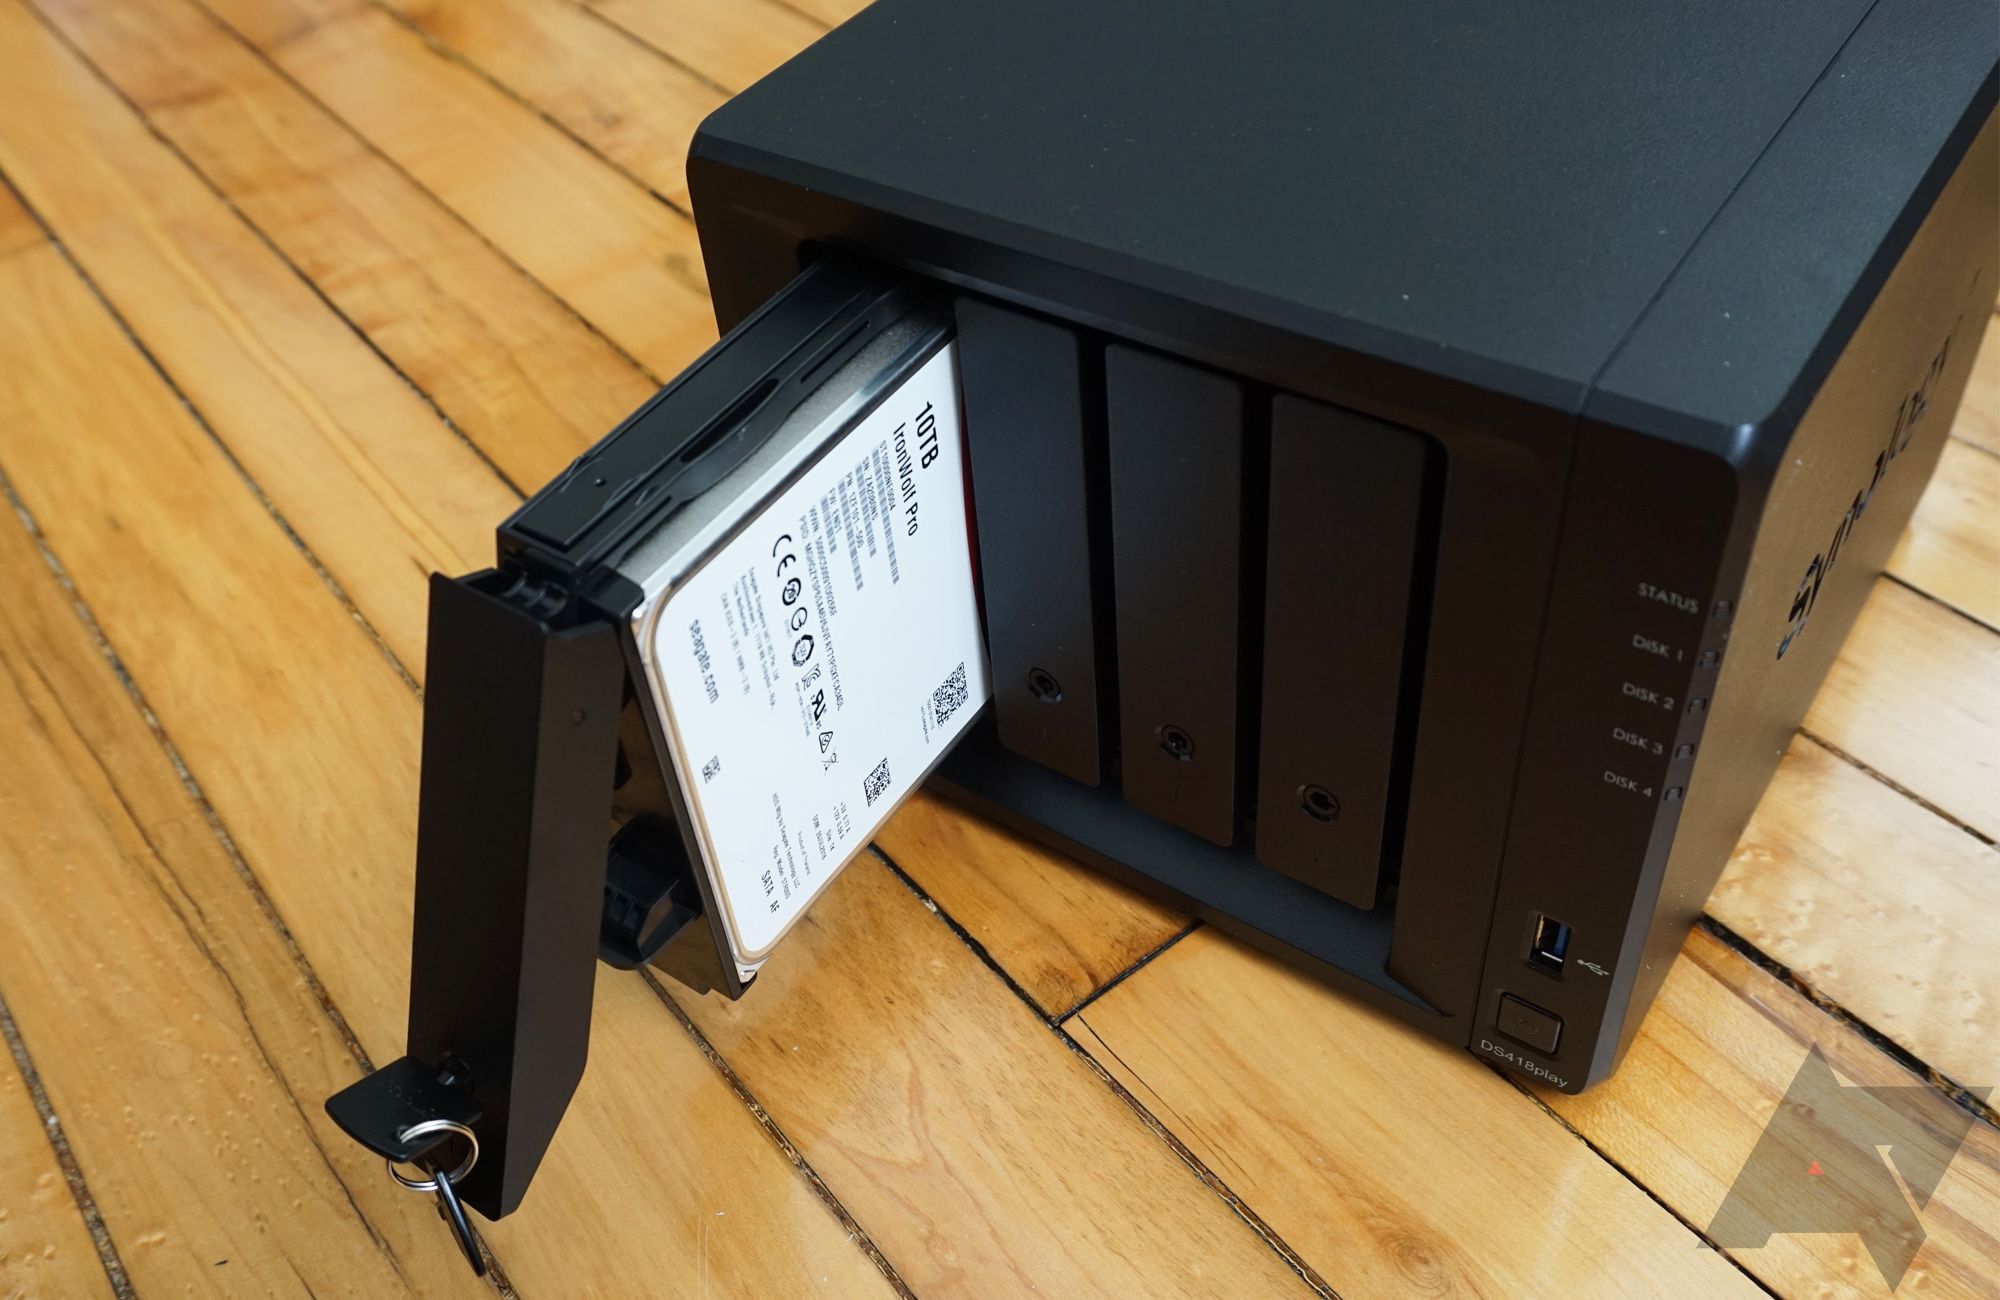
Synology Photos is completely free to use if you own a Synology NAS server. While the app does salvage you from spending a monthly subscription fee on apps like Google One, the entry price could exist pretty substantial (depending on the NAS model and the storage capacity yous opt for) if you plan to pick upwards a new network storage server.
For instance, the DiskStation DS220+ alone costs $300, while with the whole package, including a pair of HDDs, you could be looking at an initial investment of $500. It doesn't make sense to get a NAS just for Synology Photos; you'd be better off paying $100 a yr for Google'due south 2TB storage plan.
Still, if you're going to utilize the NAS for other things, having admission to Synology Photos is a overnice bonus. And there's then much more that yous can do with a Synology NAS, from setting up a media server to having your own surveillance station. Synology NAS as well has some peachy tools that make it suitable for home offices and fifty-fifty enable collaboration for small teams.
The new Synology Photos app works only with Synology'due south latest NAS management software — DSM 7.0. If yous've purchased a new server, information technology'south going to come preinstalled with the latest DSM version. Only if yous're using an older NAS device, make sure to update the DSM version before you proceed.
Moving your photos and videos from Google Photos to a Synology NAS
There are two ways that you can motility your media files from Google Photos to Synology Photos: an automated and manual process. Nosotros'll starting time with the automated sync tool, which works well, but has some limitations that we'll talk about later on.
Using the automatic method
With Synology Deject Sync, yous can automate the procedure of syncing your photos from Google Bulldoze to Google Photos. You'll need to beginning install Cloud Sync on your NAS and and then link information technology with your Google account. Here's how you do it:
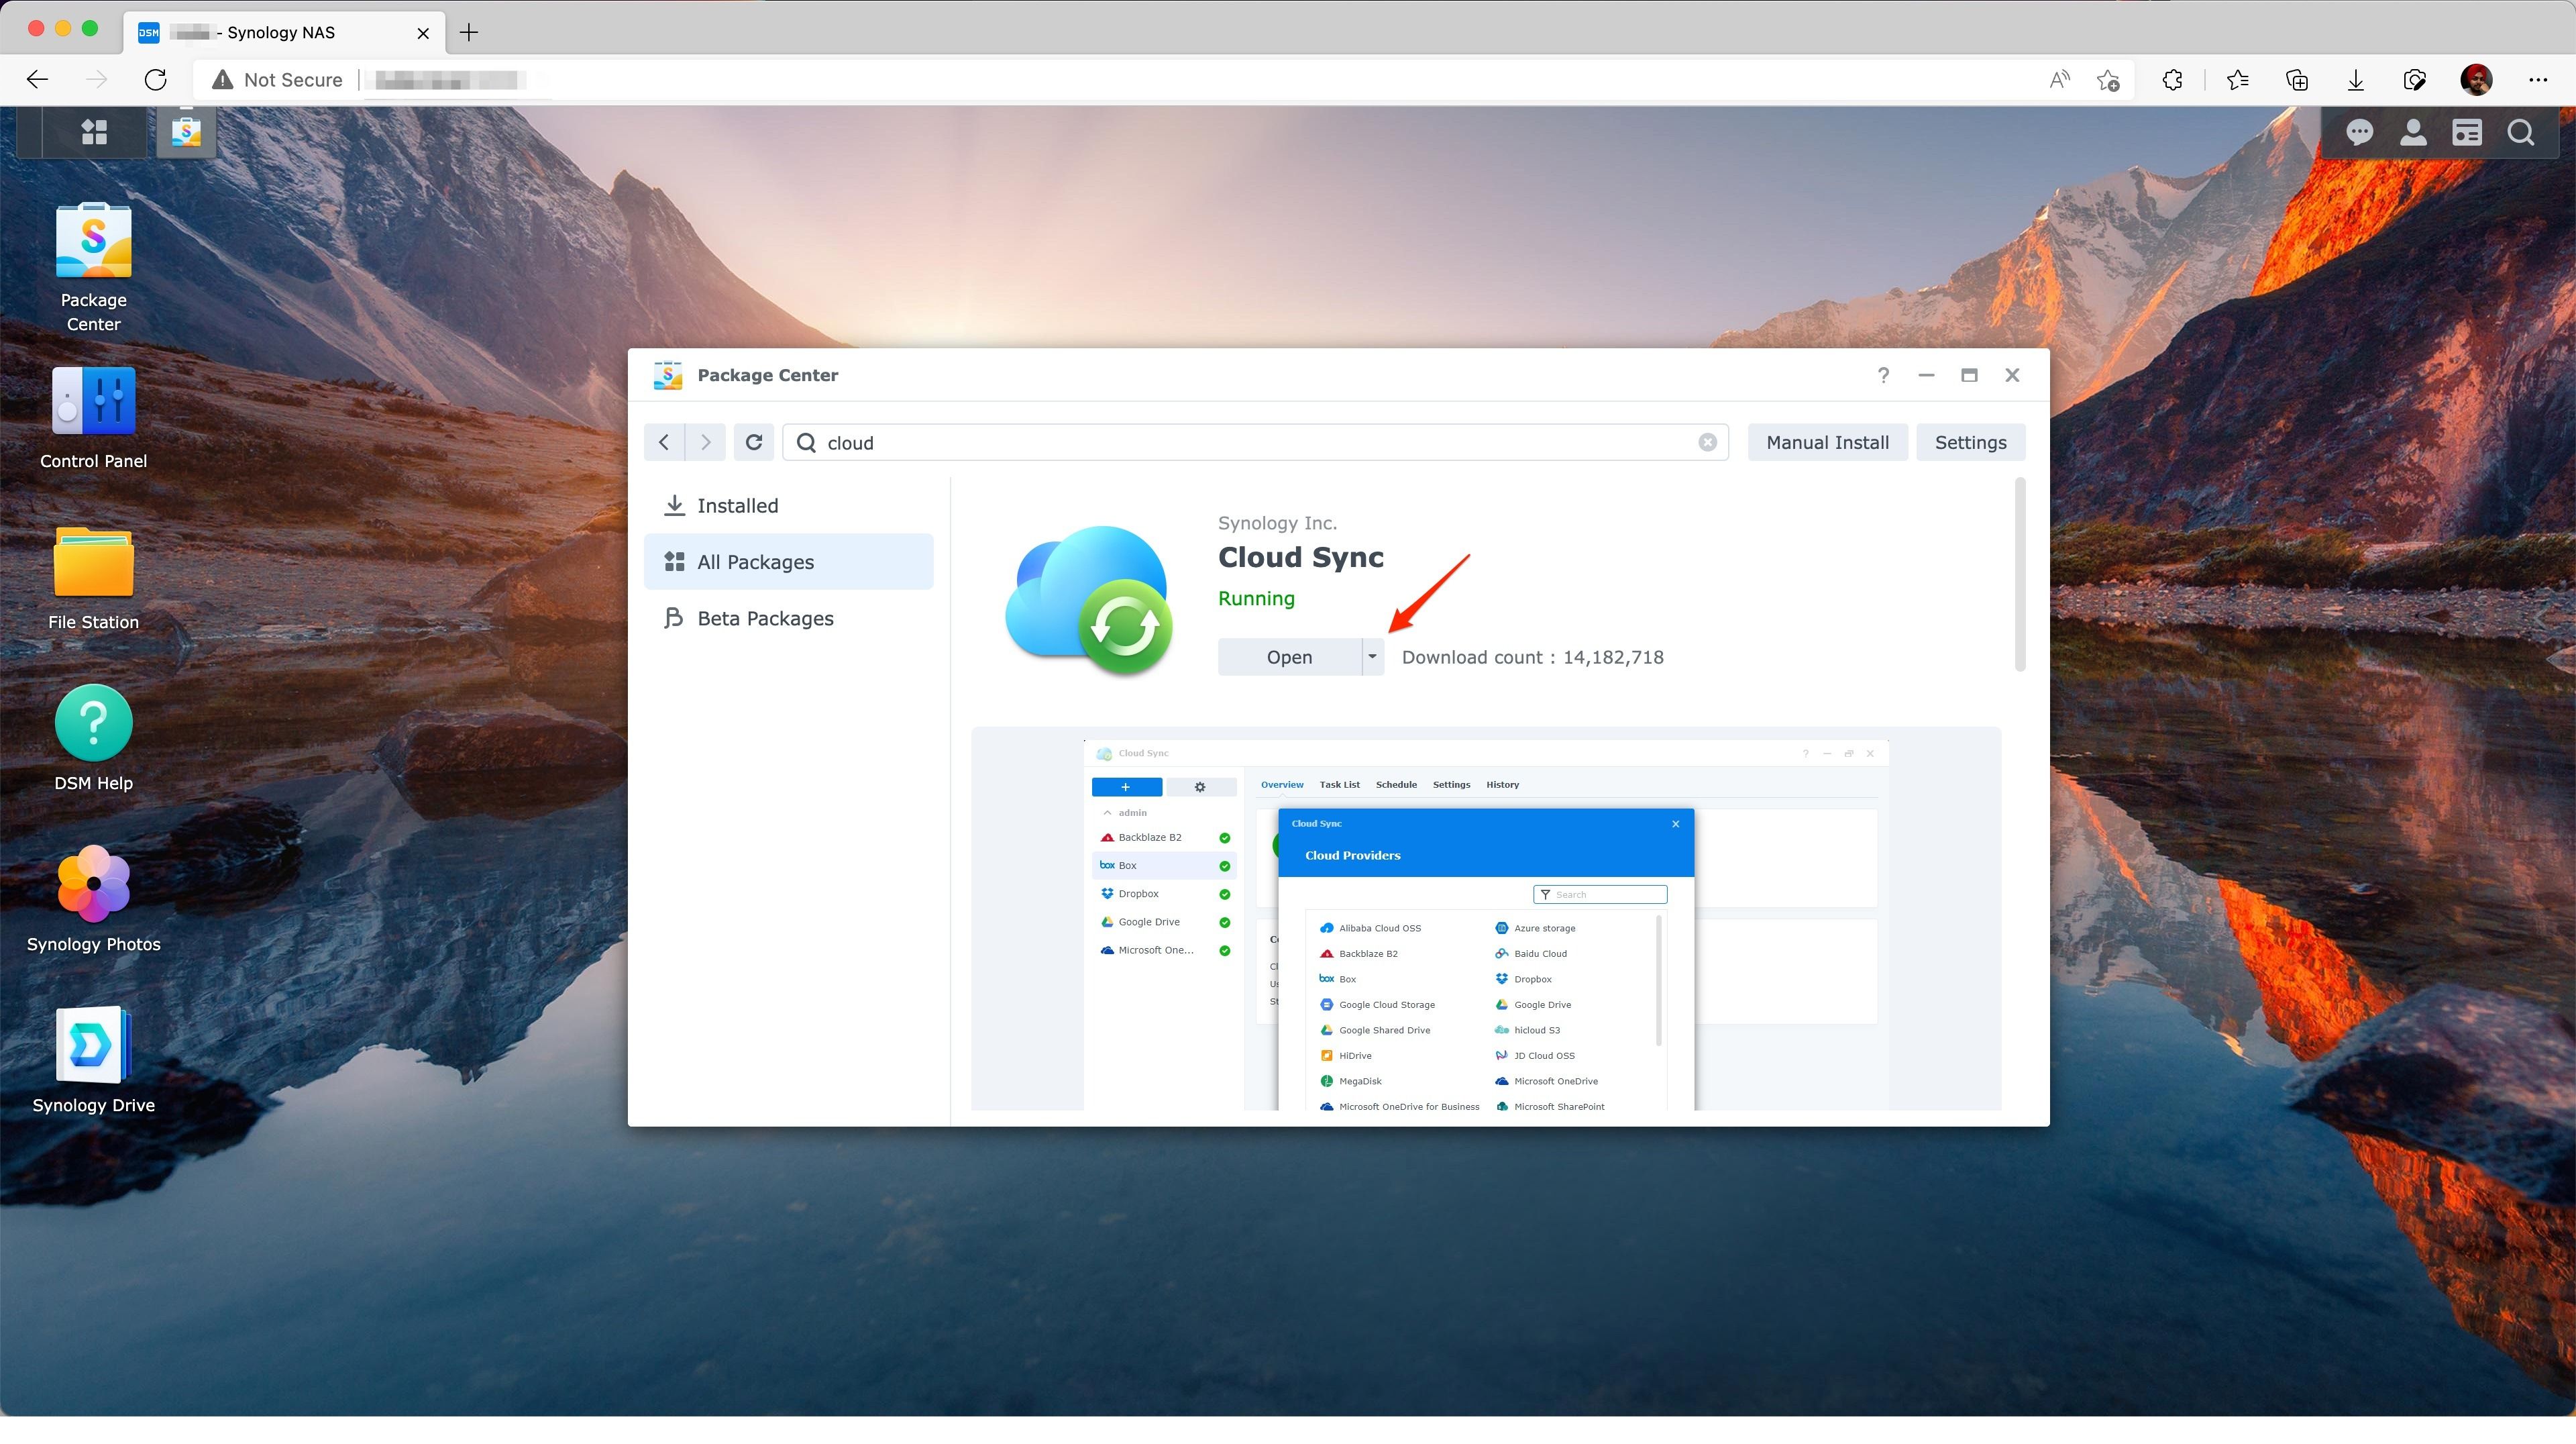
- From the Package Middle, install the app called Deject Sync. Once done, open up it and select Google Bulldoze and click on Next.
- On the pop-up window, sign in to the Google account where all your Google Photos are, and and then let Deject Sync to admission your Google Drive. Click on Agree on the next page.
- It will take you back to the DSM page, from where you can set up a new sync chore. Among the options, Local path is the folder on your NAS where you want to store your files from Google Photos, while Remote path is the source folder in Google Drive that you want to sync. Assign these folders, fix how you desire the sync to work from Sync direction, and hit Next.
- Requite your selections one last look before clicking on Done.
You can check the sync status from the Cloud Sync app. Depending on the size of your library, the sync can have between a few seconds to a few hours. Once it'southward consummate, the selected destination folder will populate with your photos, which will then besides evidence upwardly in Synology Photos.
Since Google stopped syncing Google Photos to a specific Google Drive binder in 2019, you lot won't be able to sync annihilation added to Google Photos after that indicate. The best manner would be to sync everything simply until 2018, but then y'all don't have to mess with exact dates, and use the more capable transmission style for everything yous've photographed since 2019.
Using the manual method
Moving your media from Google Photos to a Synology DiskStation manually is a two-role procedure. You'll first demand to download all your files from the Google Photos website, so make sure yous have a reckoner with ample disk space available. Once you've downloaded your media, nosotros'll look at how to upload information technology to your Synology NAS.
Downloading media from Google Photos
Depending on the number of media files you plan to move, you can either download the images manually or utilise Google Takeout. The former works well if you lot simply have less than 500 hundred files to bargain with. That said, manually downloading images can exist tedious; you'll take to select your media for each day since Photos on the web doesn't offering a monthly or yearly view.
Information technology's safe to assume that well-nigh of you take more than a few hundred photos and videos in Google Photos that you demand to move over to your Synology NAS. In that case, Google Takeout is the easiest way to download your media. Hither's how you apply it:
- Go to photos.google.com on a calculator and click on the cog icon in the elevation-right corner to enter the settings folio.
- Scroll down and expand the Export your data section and click on the Backup button against Fill-in and archive of your data.
- On the Takeout page, Google Photos should be the but option, only if you lot see other Google services on the list equally well, just uncheck everything except for Google Photos and hit Next step.
- You will encounter a listing of folders marked by years along with some custom folders that Photos created for you. Check whatever folders yous want to movement to Synology and become to the side by side page.
- In that location, Google will permit you pick the fill-in frequency and the exported zip file's size. Since moving photos to Synology is going to exist a one-off affair, I have selected single export and increased the file size to avert getting multiple downloads. You tin pick betwixt 1GB and 50GB from the driblet-downwardly menu. After that, click on Create export.
- Depending on how much media you're exporting, you should receive a download link via email within a few minutes or hours. Once you get the email, click on the Download your files push button and again striking the Download button on the side by side page. This download link remains active for a calendar week in instance something goes incorrect.
Moving your photos and videos to a Synology NAS
Earlier yous tin can upload your photos to a local Synology bulldoze, you will accept to dig into the downloaded folder and move around a few files. The process is straightforward and fast. Keep in mind that the steps included hither apply to Synology'southward latest DSM vii.0, and then the process may vary for older versions.
- Open the .zip file yous downloaded and open up the Google Photos folder. In there, you'll find all the folders that you selected earlier when setting upwardly the export. These folders contain photos and videos from that year, along with .json files corresponding to each media file. These .json files bear some boosted metadata from Google Photos that is of no use in Synology's equivalent Photos app.
- To get rid of these files in one fell dive, search for .json in the Takeout folder, select them all, and toss them into the bin. At this indicate, yous tin likewise restructure the folder directory the way y'all desire, but y'all don't necessarily need to do that since Synology Photos volition adjust the images by appointment past default.
- At present open your Synology NAS in a web browser and open File Station to locate the folder that is set up upwardly with the Synology Photos bundle. All yous need to do hither is elevate the Google Photos folder and drop it in there. Instead of accessing information technology from a web browser, yous can alternatively use File Explorer or Finder if y'all've already linked your NAS to your computer's file managing director.
- The upload procedure can take a while to end depending on the binder size, following which Synology Photos will start processing your media files for indexing and its various Google Photos-inspired AI features. In one case all this is washed, your photos and videos should populate the Synology Photos web and phone apps just as they do on Google Photos.
If you notice a group of photos are categorized with the incorrect engagement, there's a change Google Takeout flubbed the EXIF information. Try downloading the afflicted folders or images once again; if a second download fails to set up the issue, you may demand to update the metadata for each paradigm manually.
Setting upward the Synology Photos app on Android
One time you've moved your unabridged library to Synology Photos, it's time to install its Android app. This is where you'll meet most of the features that have been borrowed from Google Photos. The app is too a more accessible mode to run into your photos than visiting the web interface through DSM.
On the first install, you will exist asked to enter your NAS'due south local IP accost or its QuickConnect ID and your login details. Punch those details, and you'd be in. The interface will quickly populate all the photos you only uploaded through the spider web UI using the steps above.
Getting acquainted with Synology Photos
Left: Synology Photos, Right: Google Photos.
Right away, you will notice that the interface looks very similar to Google Photos, down to the pinch to zoom option on the dwelling page and the carte du jour bar at the bottom. The similarities will let you to speedily adapt to the Synology Photos app when switching from Google's counterpart. All the options are where yous await them to be, and the bottom bar is also nicely laid out to avoid whatsoever confusion.
You can club together a bunch of photos together in albums, which volition be accessible through the Albums tab at the bottom. That's also where you'll find your media files tagged past faces and places. Synology'south AI here isn't every bit adept every bit Google's just yet, so you may notice a few sideslip-ups with duplicate or incorrect facial tags, which you'll take to fix manually.
From the sharing tab, you can meet and command the media files you've shared with others either on the network or externally. The app lets you share private photos or albums with other accounts on the NAS or with any specific user groups you may have created. There'south also a way to share your library with a publicly attainable link. And if you ever want to testify those photos to your family on a big screen, you tin can beam them to a Chromecast through the Android app.
Since the chapters of Synology Photos is limited only past the storage capacity of your NAS, you tin easily support your media in total resolution. You tin too set upwards automated backups on your phone that works simply like it's on Google Photos.
How to set up automated backup
Setting up automatic backup on Synology Photos is pretty straightforward. Here'southward how yous can do it:
- Tap on More than (the hamburger carte), select Photo Fill-in, and then tap on Enable Photo Backup.
- Select Backup Destination and Backup Source folders, and tap on Done at the peak.
And just like that, your media will outset backing up to Synology Photos. Nether the backup settings in the app, you also accept the option to complimentary upwards the space your backed-up media files are taking on the phone, like to what you get on Google Photos.
Should you ditch Google Photos?
No. Even though photo backups count confronting your Drive storage, Google Photos remains the smartest and maybe the most well-rounded photos app for Android and iOS. Information technology integrates well with the larger Google ecosystem, allowing you lot to bandage your photos on a Tv just by request the Google Assistant or utilise those photos equally backgrounds for Chromecasts or your Nest Hub screens. Plus, sharing is far more seamless since most internet users on the planet already have a Google account.
The arrangement that has worked all-time for most is to utilize Synology Photos and Google Photos simultaneously. Support your photos to Google Photos in the storage saver mode, and apply the app access your photos and peek at those cornball highlights that information technology generates. Meanwhile, the Synology app is reserved for backing up full-res copies of your photos and videos, and can be used when you need to movement photos in an instant.
At that place's absolutely cipher that can come close to Google Photos in terms of all the smarts information technology has to offer and the new features that keep coming. But the flexibility Synology Photos app offers over Google Photos with gratis unlimited full-res backup is as well unmatched. If yous already own a Synology NAS, using Synology Photos is a no-brainer, especially since the one-time setup process isn't all that complicated, and you can even have a similar setup for Synology Drive as well.
About The Author

thorntonhisgused1988.blogspot.com
Source: https://www.androidpolice.com/how-to-move-your-photos-and-videos-in-google-photos-to-synology-nas/
0 Response to "Android Cannot Upload Photo With Ds Photo"
Post a Comment